This is a long post... step one is a repost of "hearing God speak", Step 2 begins the physical part of creating the art once you have God's heart on it...Enjoy!
Creating Mixed Media Scripture Art
Step 1 - Hearing the WORD speak into your heArt:
I sat down to begin "writing my process for making a scripture prayer art piece", and immediately began to hear the now familiar flow of words/ideas/thoughts that issue from that inner place that I have come to recognize as that place from which the Holy Spirit speaks. "I call to the earth from the rising of the sun to its setting. I know when you stand up and sit down. I am there throughout the night watches; I never slumber or sleep." (These thoughts are coming in flashes, along with a flash of the area of scripture this thought comes from.) And as I begin to think about how He is doing this, another flash: "I bring these things to your remembrance".* Yes, I have spent time reading the Scripture, becoming familiar with not just the Words, but the Author of the Words Himself, and He is bringing them forward into my consciousness as He speaks...I am not saying this to say I am some sort of super spiritual person - as you can see from this post, I am not! - but I AM saying this to encourage you, that this is fruit anyone can enjoy, as it is grown from your own life in His Word...and the impression I had as He was speaking the above things to me is that He wanted the readers of these words to know that He was already speaking into your heart's desire of joining Him in the act of creating.
You might ask, "How do you KNOW if these flashes are God speaking or just good ideas from your own heart?" I had that question, too, and at that time (some years ago), my mind was turned towards James 1:17. The verse says, "Every good thing given and every perfect gift is from above, coming down from the Father of lights, with whom there is no variation or shifting shadow (NAS)." I understood this to mean - at the beginning of this journey of hearing His voice - that I could ascribe those "good thoughts" to Him, since the gift of a good thought was from Him! And I knew the test that His true voice would not contradict what was revealed in Scripture, and a wise and seasoned Holy Spirit filled friend could help confirm or direct what I thought I might be hearing...and I went forward in the journey with some confidence...
One of the major issues in the process of hearing God in developing a piece of artwork is the sheer fact of trusting Him to care for and speak into the art our hearts are longing to create...here is my prayer of contrition for not believing this part of life was important to Him, elevating my own pointless fears over His gentle leadings, and committing to entrust myself to Him anew (you might recognize the influence of James 1:17!):
Father of lights, Thank you for shining the light of Your glory into my heart,
keeping the creative part of my spirit in Your warm embrace until I could see what You have always known.
Forgive my pride - which always implies that somehow I am wiser than You;
and whose voice is usually discouraging me from the vision You have purposed!
I open my heart wide to You, my Lord and my Savior!
I embrace Your desire to share
Your strength
Your joy
Your creativity
Your love
Your vision
... with me!
Let Your influence - that of the Great Master Artist and Creator - be visible through me!
A prayer like this helps attune my heart and mind to His Spirit within...yet you might want something more rooted in Scripture, so here are some of the places I like to go to and personalize for myself:
Holy Spirit, open up the kingdom of God in my heart: the blessings of
righteousness and peace and joy through Your Presence.
adapted from Romans 14:17
May You, the God of hope, fill me with all joy and peace in believing,
so that I will abound in the hope of inspiration by the power of Your Holy Spirit.
adapted from Romans 15:13
I have received the Holy Spirit who is from God,
so that I may know the things freely given to me by God.
adapted from 1 Corinthians 2:12
* verses that contain these thoughts (in consecutive order): Psalm 50, Psalm 139:2, Psalm 121:4, John 14:26
Step 2 - Finding and stylizing His Word to you on paper:
2A. When your heart is assured that you are in collaboration with the Lord, then read again the passage or verse you are working with. In this example, I actually was reading verses 9 through 12 of Colossians 1. I begin by looking for a block of words that hold one complete thought. As I worked with this passage, I found at least 3 blocks that included character traits that a person could grown in and fit the beginning of the sentence that I chose ("I pray that") - verse 9, verse 10, and verses 11 -12a. There are other prayer portions in this passage, but I would qualify those to be truths for one to come to understand and I will probably include these on art work that begins with the phrase "I pray that you come to understand...".
 |
| Words I didn't use, but were part of the passage |
2B. Next, I look for natural breaks such as commas, conjunctions or prepositions within the block I am working with in order to decide how to group words together. At this point I might decide to leave out a clause that doesn't pertain to the main idea of the prayer but might just give fuller explanation of some part...in this example, the clause I was considering was "according to His glorious might". It isn't something we would pray for another, it is giving fuller explanation as to Who is giving the power and strength, or from Who the power and strength will be gained. Instead of leaving it out, I thought it would be a great boost for anyone reading that they don't have to come up with more power and strength from their own resources, but that it will be given them, and given to them according to how He gives! So I included it as a parenthetical phrase - which in reality how it is included in the original verse. So now I have one complete thought, when "I pray" is placed in front of the word block.
2C. I then look for words that convey the main idea of what is being prayed - think nouns and verbs. These become the words that I italicize or put in all caps as a way of emphasis. I also include adjectives or adverbs in these emphasis styles. In looking at my example, I now wish I had italicized "great" in block 2. Also, I could have removed the "and" from block 3 and that block would be grammatically correct with "I pray" added to the beginning of the thought.
2D. After choosing the blocks of words, this is really when I decide on a "centered text" or "blocked left text" layout. I take into consideration how big my substrate is and whether it will be square or laid out in portrait or landscape style. The final decision is simply what looks most pleasing to me at the moment! (These examples are Bookman Old Style 28 point font)
I think I will be able to make at least 4 more art pieces for this passage in Colossians!
For a good online site that explains parts of a sentence, go to http://grammar.ccc.commnet.edu/grammar/definitions.htm
Step 3 - Preparing the Canvas:
3A. I used medium matte gel that isn't super thick, but that does hold its shape, to adhere lots of various paper and fabric scraps to my substrate. In this example I used 1/2 inch birch board, but a wrapped canvas works just as well. You can use Mod Podge, but I find that the gel medium reduces the stretching and wrinkling that occurs when the paper gets wet. I use whatever paper I have on hand - text, cardstock, scrapbook papers, fabric, handmade paper - in whatever combination pleases me. Don't worry too much about color and pattern combinations since next steps tend to pull things together or you can cover up areas you decide you really don't like. I also make sure I put a good layer of gel medium over the top of the paper so that it holds up to subsequent layers of paint and rubbing. It doesn't take long for the gel medium to dry.

3B. I put a layer of watered down white liquid acrylic paint over the entire piece to mute the colors and patterns and to give it some continuity. I use something around these two ratios: 1 part paint to 1 part water or 1 part paint to 2 parts water. You can use more paint in areas, or less (by adding more water) so that paper patterns show through - there truly isn't any "right" or "wrong"! While this layer is drying, move on to step 3C...

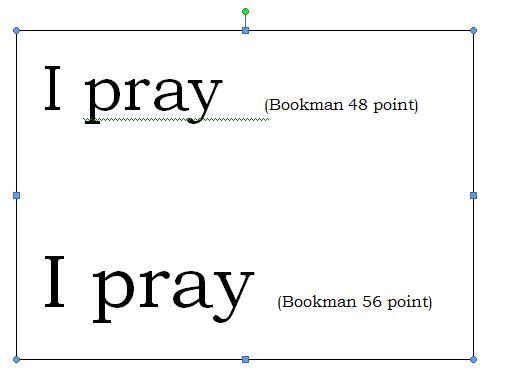
3C. Print out the words you are planning to use for your piece; the ones that were revealed to you in Step 2...I usually make several sizes and font styles to find out what I like the best once I start arranging words on the piece...in my example "prayer" pieces I used "Bookman Old Style" font, and you can see what I italicized for emphasis...I also just printed on regular printer paper, but you can use something heavier if you wish to make it stand up from the base more. Heavier paper doesn't show all the edges from the lower layers as well, where regular printer paper allows most of the texture and edges to show up (see what I mean in the image below). It is totally your choice!

3D. So the white layer is probably dry now, and it is time to arrange the words over it...keep moving things around, trimming where you think it needs trimmed, until you are happy with the layout...as you can see, much of that pattern and color gets covered up with this step. Once I figure out the placement, I actually measure the top line of text and the bottom most line of text against the edge of the substrate - just mentioning this, because a crooked line of text totally bothers my artistic eye on these pieces! However, if it is your purpose to NOT have them perfectly parallel, then skip the measuring! Again, I use the matte gel medium to adhere the paper and I apply a generous amount over the top...and allow it to dry (usually 10 to 20 minutes).

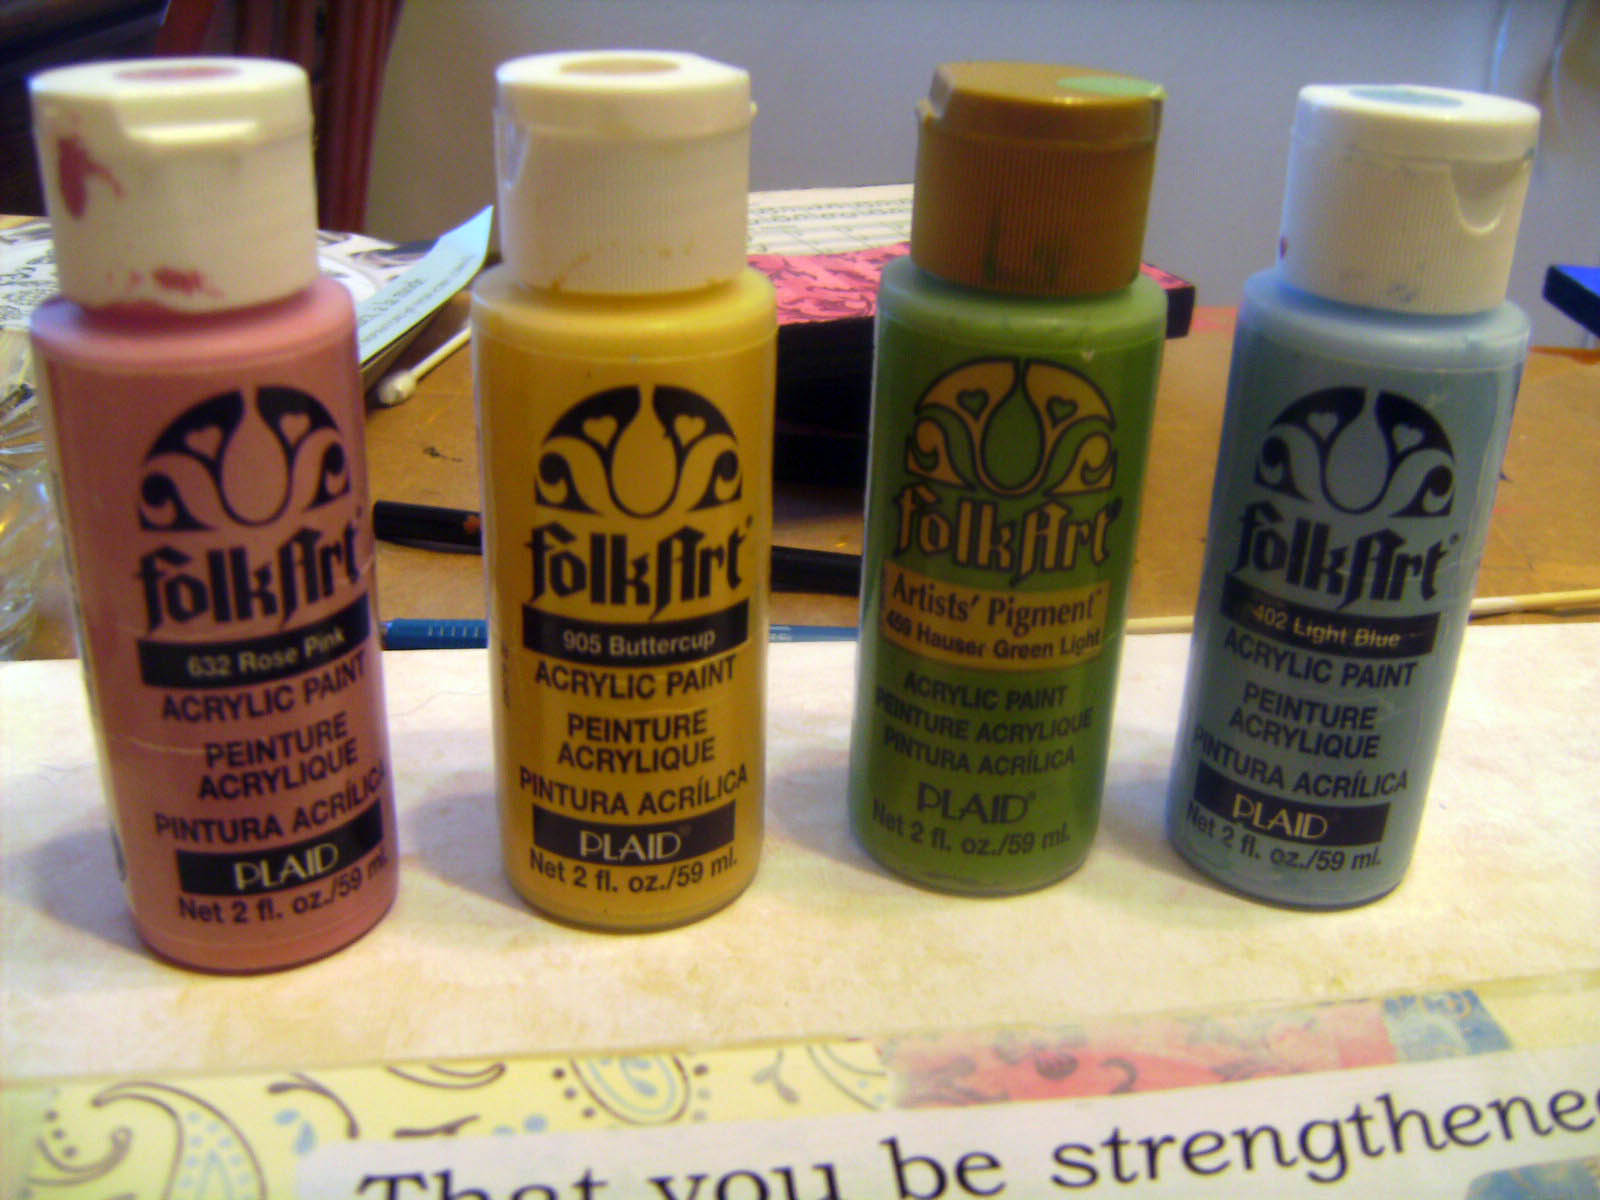
3E. This is the step when color is added to the piece...I like to use colors that have a "vintage" feel. I have a stash of FolkArt craft acrylic - Light Blue, Buttercup, Rose Pink, and Hauser Green Light for this case. I use a wet brush to apply the paint, again, just choosing color and heaviness of application however it "looks good" to me at the moment.
On this piece, I thought I needed a darker blue; I like Cobalt Blue in artist's grade acrylic (this is the color between lines 2 and 3). I apply color over the text as well, and wipe the color away again to re-expose the words, but now they are tinted. The paint dries fairly quickly, so I tend to paint and wipe only one block of text at a time. I like to blend the colors together at the points that they meet, and I also rub color off various places as I go – again, just whatever pleases me at the moment.
3F. I like to outline the blocks of text with a black watercolor pencil, and then I go over the outline with water to darken it. I like doing this step now, because it helps me to “see” areas of the piece that need more attention. I always spray with workable fixative after I darken the pencil lines to keep them from smearing and also stamp a number by each prayer point using black acrylic paint on a number stamp. Now I can see where to add…
 |
| Sorry the image is a little fuzzy here! |
3G. Circles punched out of scrap paper plus more stamped images. (See Step 3F's photo). Once I get the circles attached (using gel medium once again), I outline them with the watercolor pencil, and add more scallops wherever I think the piece needs them, as well as stamped images. I might add paint to these areas of paper and scallops to spread color around the picture (balancing the color). I use a white gel pen to add embellishments like scallops and dots where ever I think they are needed.
Finally, sometimes I use water thinned white acrylic to mute patches of color if the picture needs color balancing.
 |
| The Finished Product! |
3H. I paint the sides black…and the piece is finished!